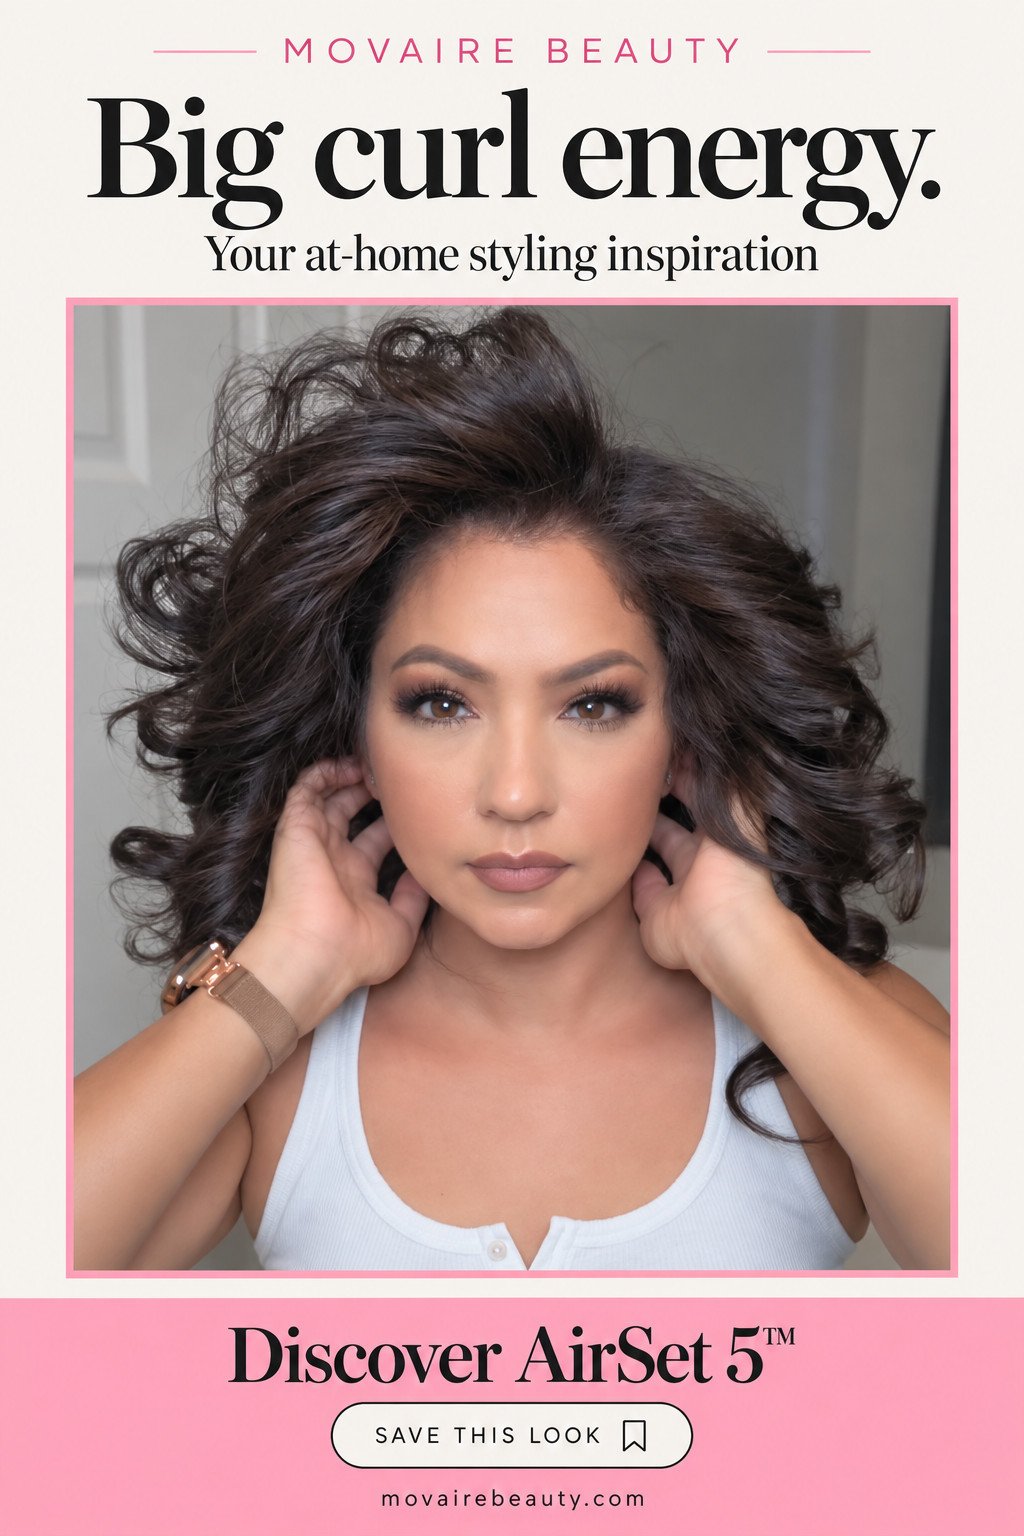
At-Home Blowout Tutorial: Bouncy Curls Without Rollers
Create soft movement, face-framing shape and beautiful volume with the Movaire AirSet 5™.
Disclosure: Movaire is my hair-styling brand. This article features the AirSet 5™ and shares guidance for building your at-home styling routine.
A fresh blowout has a way of making your whole look feel more polished. Think lifted roots, softly curved ends and hair that moves when you do.
Recreating that finish at home can take practice, especially when you’re trying to hold a hair dryer and a round brush at the same time. An air styler offers another way to approach the routine, with interchangeable attachments for different styling steps.
In this at-home blowout tutorial, we’ll explore how to use the Movaire AirSet 5™ to create shape, volume and curls without rollers. You’ll also find tips for adapting your routine to long, medium-length and shorter hair.
The goal is professional-looking hair without needing professional-level skill—and a routine you can learn at your own pace.
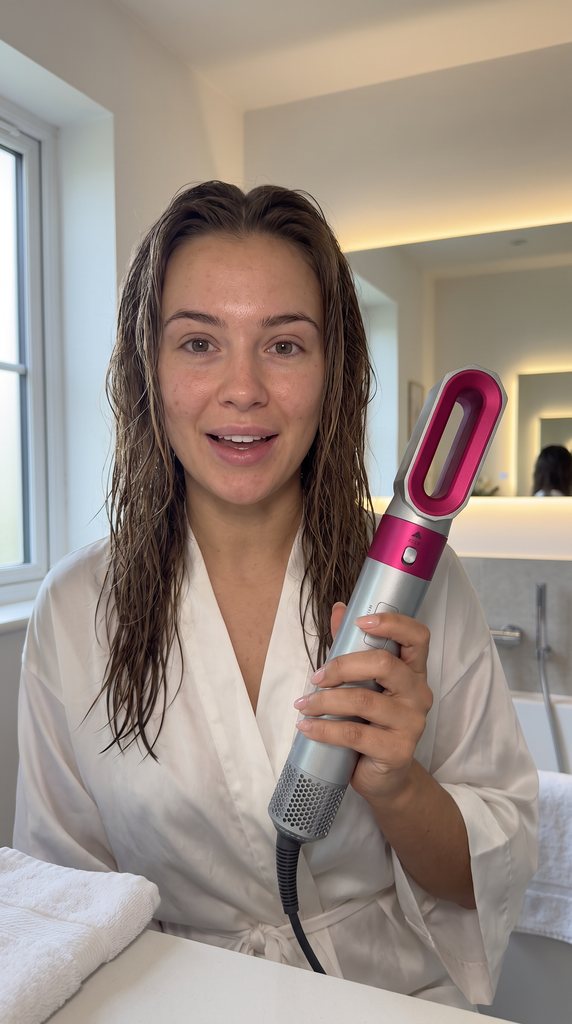
What You Need for an At-Home Blowout
Before you begin, gather:
- Your Movaire AirSet 5™ and the attachments you plan to use
- A towel
- A detangling brush or comb
- Sectioning clips
- A heat protectant suitable for your hair
- Your preferred finishing product, if needed
Follow your styling tool’s instructions and the directions on your hair products. Choose a heat setting appropriate for your hair, starting with the lowest setting that works for your intended style.
You don’t need a long list of styling products. Start with the essentials and adjust as you learn what gives your hair the finish and hold you want.
Meet the Movaire AirSet 5™
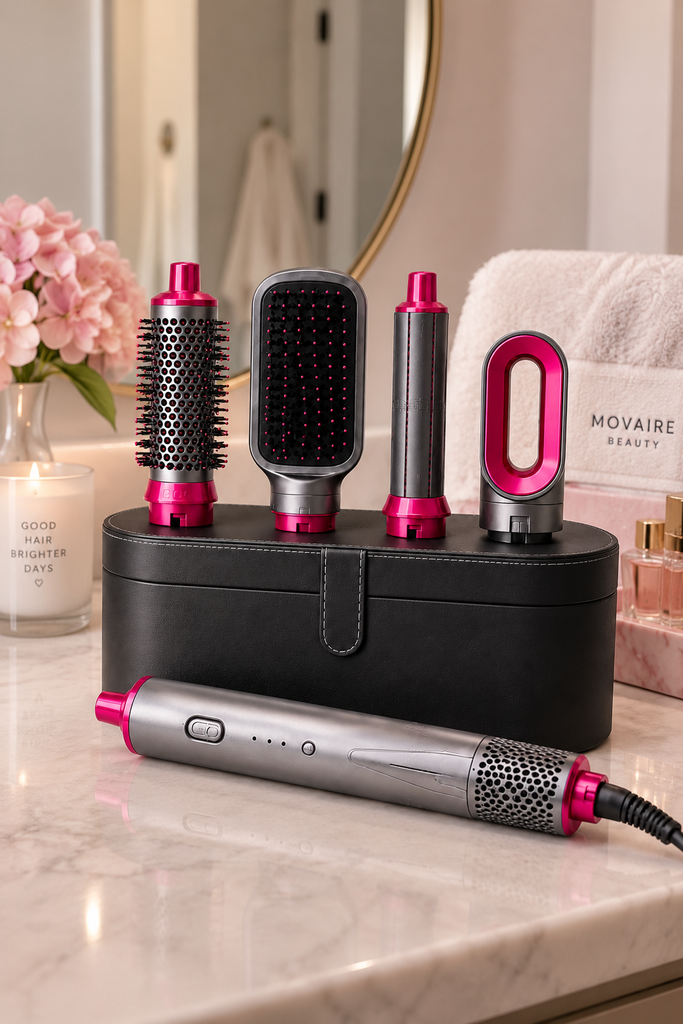
The AirSet 5™ combines one powered handle with five interchangeable styling attachments:
| Attachment | Its role in your routine |
|---|---|
| Pre-styling dryer | Removes excess moisture before styling |
| Smoothing brush | Helps smooth and shape the lengths |
| Volumizing round brush | Creates lift, rounded ends and movement |
| Left auto-wrap curling barrel | Creates curls flowing in one direction |
| Right auto-wrap curling barrel | Creates curls flowing in the opposite direction |
The two curling barrels count as two separate attachments. A storage case is also included.
You don’t have to use every attachment in one session. For a softly rounded blowout, you may focus on the round brush. For a curlier finish, add the auto-wrap barrels.
At-Home Blowout Tutorial: Step by Step
1. Prepare and detangle your hair
After washing, gently towel-dry your hair and work through tangles without pulling.
Apply your heat protectant as directed. If you use a styling product for volume or hold, choose one suited to your hair and avoid applying more than its instructions recommend.
Preparation should leave your hair manageable and ready for the drying stage.
2. Remove excess moisture
Use the pre-styling dryer attachment to prepare your hair before shaping it.
Follow the AirSet 5™ guidance for how dry your hair should be before using your chosen styling attachment. Starting with sections that are too wet can make styling harder to control.
Keep the tool moving and follow the instructions for safe use around your scalp.
3. Divide your hair into manageable sections
Clip the upper layers away and begin with the lower sections.
A good section size is one you can guide comfortably with the attachment. If strands keep falling away, tangling or wrapping unevenly, make the section smaller.
For thick or dense hair, you may need more sections. Taking smaller sections can make the process easier to manage, even if it feels slower at first.
4. Create shape with the round brush
Attach the volumizing round brush and work through each section with controlled movement.
For a rounded blowout finish, guide the brush through the lengths and gently turn the ends in the direction you want them to sit. Focus on creating a consistent shape rather than repeatedly going over the same section.
Avoid winding hair tightly around the brush. You should be able to release each section comfortably.
5. Add blowout curls with the auto-wrap barrels
For more curl and bounce, switch to the auto-wrap barrels.
Choose the barrel for the direction you want your curl to flow, following the product’s left-and-right styling guidance. The airflow helps draw hair around the barrel.
Work with one manageable section at a time. For an open, face-framing look, style the front pieces away from your face.
You can curl all your hair or add curls to selected sections. A few shaped pieces around the face can change the overall finish without making every section equally curly.
6. Let each section cool
Use the cool-air function as directed, and allow the styled hair to cool before brushing or separating it.
This is an easy step to rush. Give the shape time to settle before deciding whether it needs adjusting.
7. Soften and finish
Once your hair has cooled, gently separate the curls with your fingers. If you prefer a softer blowout, brush through carefully until you achieve the amount of movement you want.
Finish with a suitable styling product if needed, following its directions.
Your final result may be softly curved, loosely curled or full and bouncy. Hair length, texture, condition and styling technique all influence the finish.
At-Home Blowout for Long Hair
When creating an at-home blowout for long hair, sectioning becomes especially helpful.
Long sections can be harder to control from roots to ends. Keep the upper layers clipped away while you work underneath, and reduce your section size if the lengths feel difficult to manage.
Focus on:
- Shaping the lengths and ends with the round brush
- Keeping curling sections small enough for the barrel to handle comfortably
- Letting each curl cool before separating it
- Styling the front pieces deliberately for face-framing movement
Long hair’s weight can affect how curls hold. A tighter initial curl may soften as you finish styling, but the amount of relaxation varies from person to person.
Aim for movement that works with your hair rather than expecting every curl to stay identical throughout the day.
At-Home Blowout for Medium-Length Hair
An at-home blowout for medium hair can focus on rounded ends, soft bends and movement around the face.
Start with the round brush to shape your cut. You may find that you need only a few curled sections to create the finish you want.
If your hair is layered, work with the layers in smaller sections rather than trying to style different lengths together. This can make it easier to guide the ends.
For a softer everyday look, shape the ends and front pieces. For a bouncier finish, add curls through more of the hair and gently separate them after cooling.
Can You Create an At-Home Blowout on Short Hair?
With shorter hair, the fit between your hair length and the attachment matters.
Hair needs enough length to engage with the brush or wrap around a curling barrel. Very short sections may not be suitable for barrel styling, so don’t force the attachment to grip them or hold hot surfaces close to your scalp.
Depending on your cut, you may prefer to focus on smoothing, gentle lift and shaped ends. Check the attachment guidance before choosing a technique.
If you’re unsure whether AirSet 5™ suits your length, contact Movaire with details about your hair and the style you want before buying.
How to Get Blowout Curls Without Rollers
You can create an at-home blowout without rollers by using the round brush for shape and the auto-wrap barrels for curls.
A simple sequence is:
- Prepare your hair with the pre-styling dryer.
- Shape selected sections with the round brush.
- Use the curling barrels where you want additional curl.
- Allow the hair to cool.
- Gently separate the curls into your preferred finish.
You don’t need to use the round brush and curling barrel on every section. Choose the attachment that serves the look you want and avoid unnecessary repeated heat styling.
This is a heated-air routine, rather than a heatless or overnight blowout method.
Common At-Home Blowout Mistakes
Taking sections that are too large
If hair is slipping away from the attachment or styling unevenly, try a smaller section. It can give you more control over the lengths and ends.
Using every attachment because it’s included
The attachments give you options. You might use two or three in one session rather than all five.
Brushing out curls immediately
Allow your curls to cool before softening them. Brushing too soon can undo some of the shape you’ve created.
Turning up the heat before adjusting your technique
First check section size, preparation and how you’re using the attachment. Follow the tool’s instructions and use an appropriate setting for your hair.
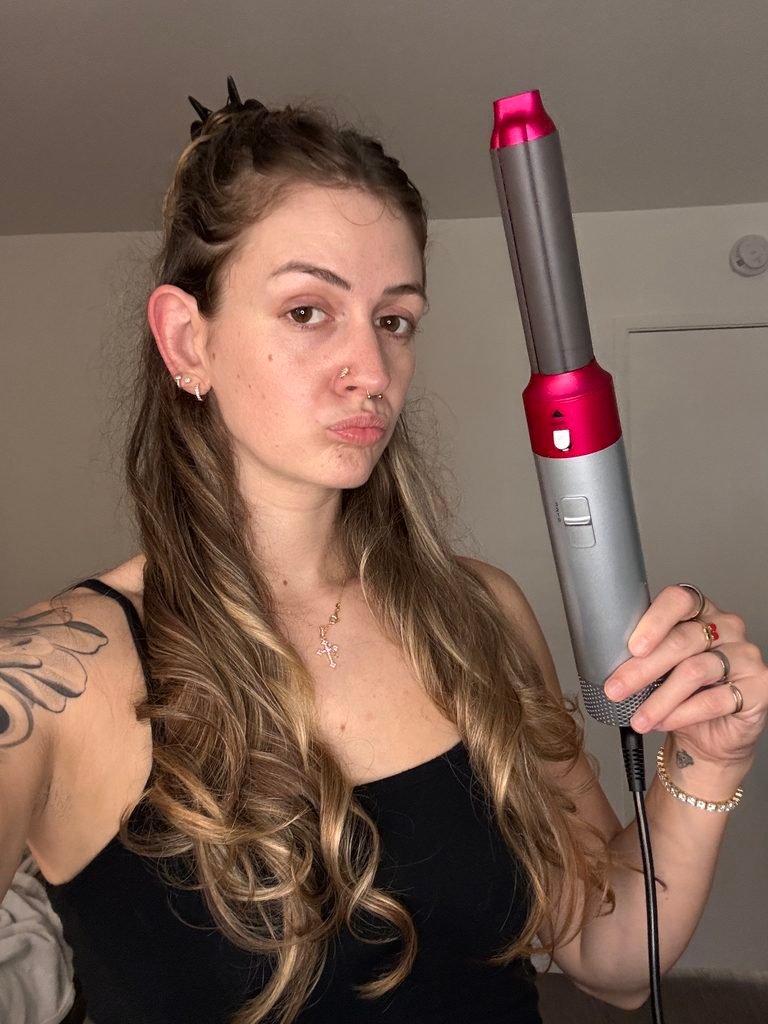
Expecting someone else’s exact result
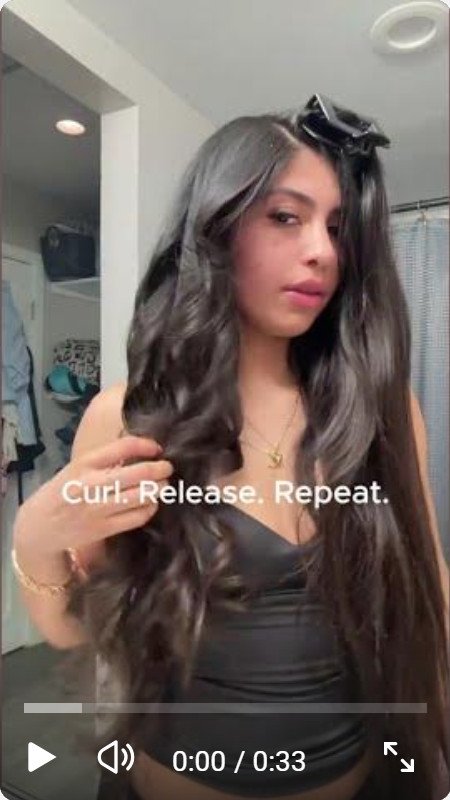
A creator’s hair may differ from yours in length, density, texture and condition. Use their video to understand the technique, then adapt it to your own hair.
Frequently Asked Questions
Do I need professional styling skills?
You don’t need salon training to begin, but expect a learning period. Start with one attachment and one style, then build your routine as you become more comfortable.
Is an air styler the same as a hair dryer?
A traditional dryer is generally used alongside a separate brush for a blowout. AirSet 5™ combines airflow with interchangeable styling attachments, allowing you to change the tool’s role as you move through your routine.
Do I need rollers as well?
Rollers aren’t required for the routine in this guide. The round brush and curling barrels provide the shaping and curling steps.
How can I help my blowout curls hold?
Work with manageable sections, follow the preparation guidance and let the curls cool before brushing them out. Suitable styling products may also help. Hold varies with hair type, technique and conditions.
Will my first attempt look like the videos?
It may take a few attempts to find the right section size, attachment and finishing technique. Start with achievable changes, such as shaping the ends or curling the front pieces, before working towards a full blowout.
Make Your Blowout Routine Your Own
An at-home blowout doesn’t need to be complicated to feel polished.
Start with the look you want: softly rounded ends, face-framing curls or fuller volume. Choose the attachments that help you create it, work in manageable sections and give yourself room to practise.
The Movaire AirSet 5™ brings those styling options together in one system, with step-by-step guidance to help you get started.
Discover the Movaire AirSet 5™ and explore what’s included →
Results and curl longevity vary by hair type, technique, products and conditions. Always follow the tool’s operating and safety instructions.