
Starting a blog is one of the most exciting and rewarding decisions you can make, whether your goal is to share your passion, build a brand, or generate real income online. The good news? You don’t need to be a tech wizard to get started. With the right guidance, you can have a fully functioning WordPress blog up and running in just a few hours.
This guide walks you through every single step, from picking a domain name to customizing your site and setting up your first pages, so let’s get into it.
Why WordPress?
Before we dive in, let’s talk about platform choice, because this decision matters more than most beginners realize.
WordPress.org powers roughly 36% of all websites on the internet. That’s not an accident. It’s the most flexible, scalable, and widely supported blogging platform available, and it’s completely free to use.
That said, it’s not the easiest platform to learn on day one. If you’ve been tempted by drag-and-drop builders like Wix or Squarespace, I get it. They look great and are quick to set up. But here’s the honest truth: when it’s time to grow your blog into a business, running ads, integrating email marketing tools, and using affiliate plugins, those platforms will hold you back. WordPress gives you full control over your site, your monetization strategies, and your design. Once you get past the learning curve (usually 3–4 weeks), you’ll be glad you chose it.
Step 1: Choose Your Blog Niche and Domain Name
Pick Your Niche
Your niche is simply the topic your blog will focus on. Food, travel, personal finance, lifestyle, parenting, fitness, the list is endless. The key is to pick something you’re genuinely interested in, and that has an audience who wants to read about it.
Don’t overthink this step, but do be intentional. A clearly focused blog is much easier to grow than a blog that talks about everything.
Choose a Domain Name
Your domain name is your blog’s address on the internet (e.g., yourblogname.com). Here are some ground rules for picking a good one:
- Keep it short and easy to spell. If you have to spell it out over the phone and people still get it wrong, it’s too complicated.
- Make it memorable. Avoid hyphens, numbers, or anything that adds confusion.
- Relate it to your niche if possible. A domain that hints at your content helps both readers and search engines understand what you’re about.
- Stick with .com. It’s still the most trusted and recognizable extension.
Take your time here. Once your blog grows, changing your domain name becomes a real headache.
Step 2: Get Web Hosting
WordPress.org itself is free, but you need somewhere on the internet to store your blog’s files — that’s what web hosting is. Think of it like renting space on a server that keeps your blog accessible 24/7.
Why You Should Pay for Hosting
If you’re serious about blogging, especially about making money from it, free hosting options simply won’t cut it. Free platforms limit what you can customize, restrict your monetization options, and don’t look professional to readers or brands. Paid hosting gives you full control.
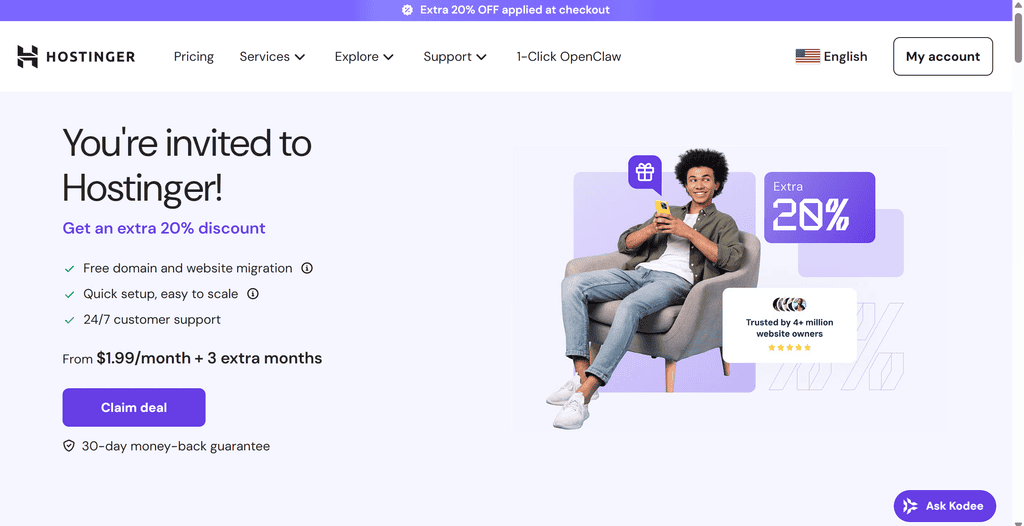
Recommended Host: Hostinger
Hostinger is one of the most beginner-friendly hosting providers out there, and it’s officially recommended by WordPress.org. Here’s why it’s a solid choice when you’re just starting out:
- Very affordable — plans start at just $1.99 per month
- You get a free domain name when you sign up for 12 months or more
- One-click WordPress installation makes setup painless
- 24/7 live chat support if anything goes wrong
- 30-day money-back guarantee
How Much Does Hosting Cost?
Hosting can range anywhere from around $1.99 to $100+ per month, depending on the plan and provider. For a brand new blog, you absolutely do not need anything fancy. The basic plan from a reputable host is more than enough to get started, and you can always upgrade as your traffic grows.
The longer the plan you commit to, the cheaper the monthly rate. A 36-month plan will save you significantly compared to paying month-to-month, and it also means you won’t risk your site going down because you forgot to renew.
Step 3: Set Up Your Hosting Account
Head to Hostinger and click the “Claim deal” button. Here’s what to expect:
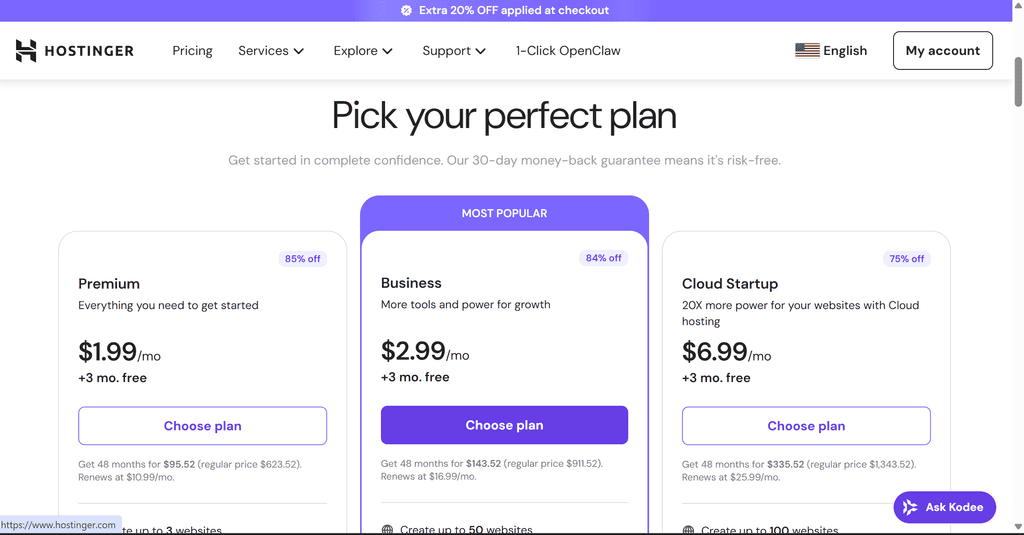
Select a Plan
For a new blog, the Premium plan is all you need. It keeps your costs low and lets you upgrade at any time. Skip the Business or Cloud Startup plans for now; those extra features aren’t necessary at this stage.
Register Your Domain
If you’re signing up for 12 months or more, you’ll get a free domain included. Just type in the name you decided on and check if it’s available. If your chosen name shows as a “premium domain” with a high price tag, it means someone else owns it; just move on and try another variation.
Already own a domain through a provider like GoDaddy? No problem. You can connect it to your Hostinger account by updating your nameservers in your GoDaddy account manager to point to Hostinger (ns1.hostinger.com and ns2.hostinger.com), then add it as an addon domain inside Hostinger.
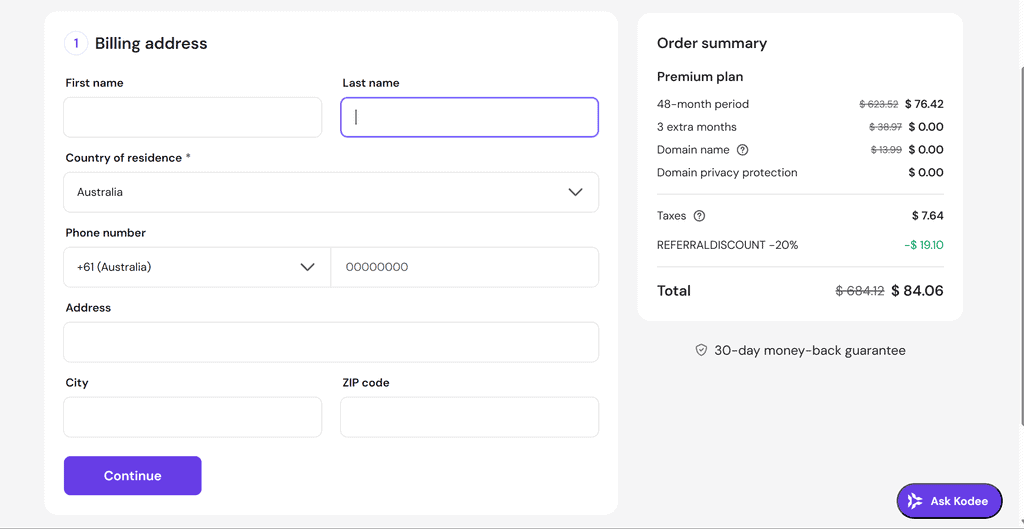
Fill In Your Account Details
Enter your name, email address, and payment details. Use an active email address; this is where all your billing and login information will be sent. Once you’ve completed payment, Hostinger will prompt you to create a password. Make it strong.
Step 4: Install WordPress
This is the part everyone gets nervous about, but Hostinger makes it incredibly straightforward.
After your account is created,
You’ll then be redirected to your shiny new WordPress dashboard. After your account is created, Hostinger will prompt you to install WordPress. You don’t need to touch any code. Once it’s done, you’ll be prompted to select a theme (more on that shortly; you can skip this for now) and then click “Start Building.”
You’ll then be redirected to your shiny new WordPress dashboard.
Your WordPress login URL, once your domain is live, will be: yourdomain.com/wp-login.php
Step 5: Get Familiar With Your WordPress Dashboard
When you first log in to WordPress, the dashboard can feel overwhelming. That’s completely normal. Give yourself a few weeks to get comfortable — it gets much easier.
Here’s a quick tour of the main menu items you’ll use most:
Posts — This is where you write and manage your blog content. You’ll spend a lot of time here.
Media — Your library for all images, videos, and audio files you upload to the site.
Pages — For static, evergreen content like your About page, Contact page, and Privacy Policy. Unlike posts, pages don’t have a publication date and don’t appear in your blog feed.
Comments — Where you’ll moderate and respond to reader comments. Engaging with your audience here goes a long way in building community.
Appearance — Your go-to for managing themes, menus, widgets, and overall design customization.
Plugins — One of the biggest advantages of self-hosted WordPress. Plugins add functionality to your blog — from SEO tools to contact forms to email integrations.
Users — Manage who has access to your site. Important tip: don’t leave your main login username as “admin” — it’s the first thing hackers try. Change it to something unique.
Settings — Critical to configure correctly from day one. Let’s go through the key settings below.
Essential WordPress Settings to Configure Immediately
General Settings (Settings > General)
- Site Title: The name of your blog as it appears on the homepage
- Tagline: A short description of what your blog is about (optional, but worth filling in)
- WordPress Address & Site Address: Both should match your domain name
- Email Address: Your primary contact email for the site
Permalink Settings (Settings > Permalinks)
This one is critically important and easy to get wrong. A permalink is the permanent URL structure for each of your blog posts. You want your posts to use a clean, readable URL like yourdomain.com/your-post-title rather than something like yourdomain.com/?p=123.
Go to Settings > Permalinks and make sure “Post name” is selected. This is the most SEO-friendly format, making your URLs readable and easy to share. Set this up before you publish any content — changing it later can break existing links and hurt your search rankings.
Step 6: Choose and Install a WordPress Theme
Your theme controls how your blog looks — the layout, colors, fonts, and overall visual style. WordPress has hundreds of free themes, and premium (paid) options offer more customization and support.
Finding a Free Theme
From your dashboard, go to Appearance > Themes, then click the “+” button to browse available free themes. There are some genuinely great free options in here.
What to Look for in a Theme
It’s easy to get lost choosing a theme. Here’s what actually matters:
- Clean and simple design. Fancy isn’t better. Easy to read and easy to navigate beats a visually complex one every time.
- Mobile responsive. Most of your readers will visit from a phone. A theme that doesn’t look good on mobile will hurt your traffic and your credibility. Always test a theme on different screen sizes.
- Fast loading. A slow site is a site people leave. Lightweight themes are better.
- SEO-friendly. Check that the theme is noted as SEO-optimized in its description.
- Active support. If something breaks, you want to know there’s somewhere to turn.
Premium Theme Frameworks Worth Knowing About
If you’re ready to invest a little in your blog’s design, a few theme frameworks worth considering are:
Kadence — A newer and increasingly popular option. It’s lightweight, loads fast, highly customizable, and can be used with or without a child theme. Offers a free version with strong features.
GeneratePress — Another lightweight framework loved by performance-focused bloggers. Extremely fast, clean code, and great customer support. Available on a subscription or a lifetime license.
Don’t overthink your design when you’re starting out. No one is choosing your blog over another because of how it looks. They come for your content. Get something clean and functional, then improve the design later once you’re generating income.
Installing a Premium Theme
If you purchase a theme, you’ll receive a zip file. Go to Appearance > Themes > Upload Theme, upload the zip, and click Activate.
Step 7: Customize Your Blog’s Look
Once your theme is activated, head to Appearance > Customize to adjust the visual settings. What you’ll see here depends on your theme, but most themes let you control:
- Site Identity — Update your blog name, tagline, and upload a logo
- Colors & Typography — Adjust your color palette and fonts. Keep text colors high-contrast and easy to read. Choose a readable font size — readability always wins over style
- Header & Footer — Add or adjust your header image, navigation placement, and footer layout
- Menus — Configure your navigation menu (more on this below)
- Widgets — Add elements like recent posts, search bars, or email sign-up forms to your sidebar and footer
- Additional CSS — If you’re comfortable with code, you can add custom styling here
You’ll see a live preview of your changes on the right side of the screen as you make them. Don’t expect your blog to look exactly like the theme demo right away — that takes setting up pages, adding images, and configuring menus. Give it a few days, and it will come together.
Step 8: Create Your Essential Page
Before you write your first blog post, there are a few pages every blog needs from day one.
About Page
Counterintuitively, your About page isn’t really about you; it’s about your reader. People land on this page asking, “Is this blog for me?” Your job is to answer that with a resounding yes.
A great About page does three things:
- Tells your reader exactly who the blog is for — makes them feel like they belong
- Explains how you’re going to help them — share your story, your struggles, how you solved a problem they’re facing
- Directs them to a clear next step — subscribe to your newsletter, start with a specific post series, or follow you on social media
Don’t just list your hobbies. Make it personal, make it relevant to your reader, and end with a call to action.
Contact Page
A simple page with a contact form or your email address. As you grow, brands and readers will want to reach out — make it easy for them to do so.
Legal Pages
Once you start adding plugins, running ads, or using affiliate links, you’re collecting data and potentially earning commissions from your readers’ actions. That means you legally need to disclose certain things. WordPress makes setting up a Privacy Policy particularly easy — go to Settings > Privacy and click “Create a New Page.” WordPress provides a handy guide for what to include.
The three legal pages every blog should have are:
Privacy Policy — Discloses how you collect and use visitor data (cookies, analytics, email sign-ups, etc.). This is legally required in most countries if you collect any personal information.
Disclaimer — Protects you legally by clarifying that readers shouldn’t rely on your content as professional advice, and that you may earn commissions from affiliate links.
Terms and Conditions — Outlines how visitors can and cannot use your site, covers copyright of your content, and explains any affiliate or sponsored content relationships.
You can combine all three into one legal page, which is a common approach. Just make sure the information is accurate for your specific situation — don’t just copy someone else’s policy, as it may not cover what’s installed on your particular site.
Step 9: Set Up Categories and Your Navigation Menu
Blog Categories
Categories are the main topic buckets for your blog posts. They appear in your navigation menu and help readers find the content they’re interested in.
Keep it simple — 3 to 4 main categories is the sweet spot. Too many categories make your navigation cluttered and confuse both readers and search engines.
For example, a lifestyle blog might have categories like: Home Decor, Travel, and Parenting.
To create categories, go to Posts > Categories, give each category a name and a slug (the URL-friendly version of the name, e.g., travel), and optionally add a description.
You can also create subcategories by setting a “Parent Category.” For instance, under “Lifestyle” you might have subcategories for home living, food and drink, and wellness.
Setting Up Your Menu
Your navigation menu is how readers find their way around your blog. A good menu is simple, uncluttered, and easy to access from any page.
Go to Appearance > Menus to build your menu. You can add:
- Your main categories
- Key pages (About, Contact)
- Custom links
Keep the top-level menu items to 5 or fewer. If you have subcategories, they can live as dropdown items under a parent category. Test your menu on mobile to make sure it works well on smaller screens.
Step 10: Install Essential Plugins
Plugins are one of WordPress’s most powerful features. They add functionality without you needing to write any code. However, don’t go overboard — too many plugins can slow your site down.
Here are some categories of plugins worth looking into from the start:
- SEO Plugin (e.g., Yoast SEO or Rank Math) — Helps you optimize each post for search engines
- Caching Plugin (e.g., WP Super Cache or W3 Total Cache) — Speeds up your site
- Security Plugin (e.g., Wordfence) — Protects against hackers and malware
- Contact Form Plugin (e.g., WPForms or Contact Form 7) — Powers your contact page
- Email Marketing Integration — Connect your email platform (like Mailerlite or Mailchimp) to your blog to start building your list from day one
Install plugins from your dashboard at Plugins > Add New. Search by name or category, then click Install and Activate.
Step 11: Write Your First Blog Post
Once your blog is set up, it’s time to start creating content. Go to Posts > Add New to open the WordPress editor (called Gutenberg).
A few tips for your first post:
- Write something genuinely helpful or interesting — don’t just write to have something published
- Use headings (H2, H3) to break up your content and make it easy to skim
- Add images to make posts visually engaging (upload them via Media > Add New)
- Include a clear call to action at the end — tell readers what to do next
- Hit Save Draft regularly as you write, then click Publish when you’re ready
Remember: your first post doesn’t have to be perfect. Done is better than perfect. You can always go back and update it.
Quick-Start Action Plan
Here’s everything in order so you can hit the ground running:
- Choose your niche — pick something you’re passionate about and that has an audience
- Pick a domain name — short, memorable, and relevant to your topic
- Sign up for hosting — Bluehost’s basic plan is a great starting point; go for at least 12 months to get a free domain
- Install WordPress — Bluehost handles this automatically
- Configure your settings — update General settings and set your Permalinks to “Post name.”
- Choose a theme — start with a free theme; keep it clean, fast, and mobile-friendly
- Customize your design — add your logo, set your colors, configure your menus
- Create essential pages — About, Contact, and legal pages
- Set up categories and navigation — keep your menu simple and easy to use
- Install key plugins — SEO, security, caching, and email marketing integrations
- Write your first post — and hit publish!
Final Thoughts
Starting a WordPress blog takes a bit more effort upfront than using a drag-and-drop builder, but the flexibility and earning potential you gain in return make it absolutely worth it. Thousands of bloggers have built full-time incomes using exactly this setup — the tools are all available to you.
The most important thing is to take action. Your first version doesn’t have to be perfect. Commit to it, give yourself time to learn, and keep showing up. The blogs that succeed aren’t always the most beautifully designed — they’re the ones that kept going.
Good luck — you’ve got this.